Part 2: The Autolyse – Giving Your Flour a Spa Day
Welcome to Part 2! You’ve successfully created a living culture from scratch. Now, we’re going to introduce it to its life’s purpose: flour. But before the real work begins, we’re going to let our main ingredients get to know each other in a process called autolyse.
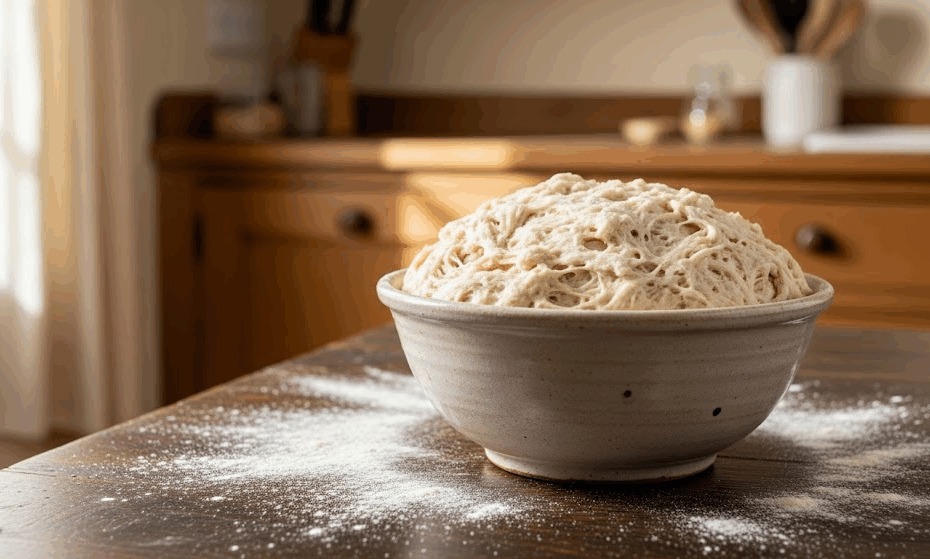
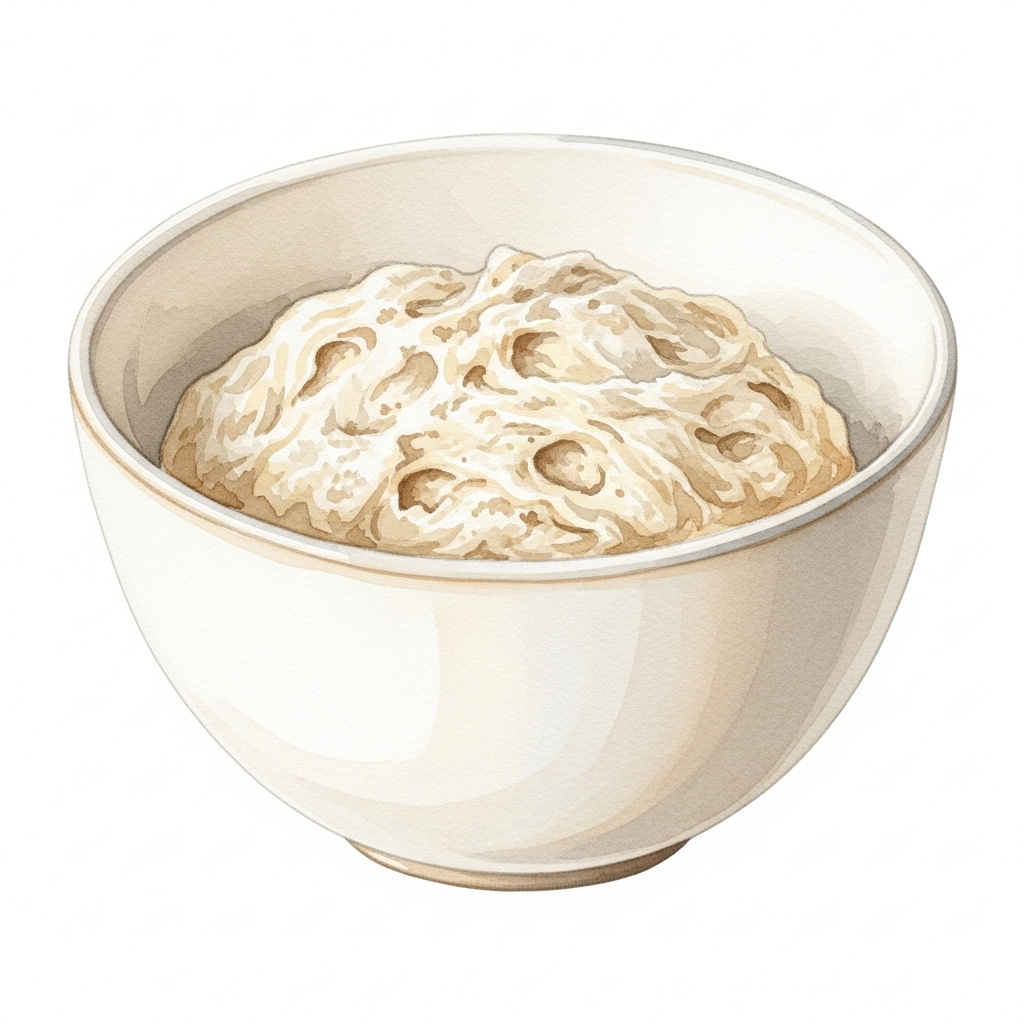
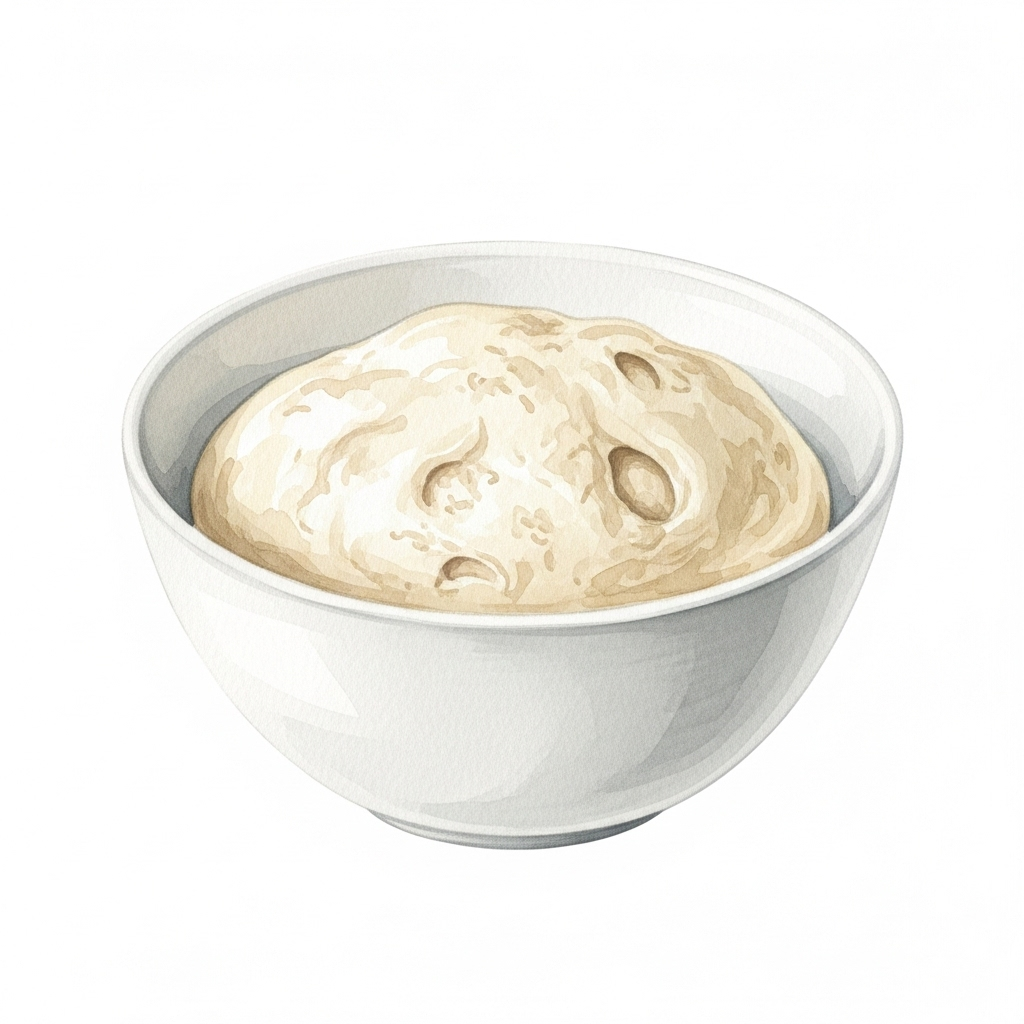
Think of it as setting your flour and water up on a blind date. You put them in a bowl, dim the lights (okay, just cover the bowl), give them some privacy, and let chemistry work its magic. It sounds fancy, but it’s the easiest and most impactful trick in the baker’s handbook.
The Science Bit: What’s Happening in That Bowl?
The term “autolyse” (pronounced auto-lees) was coined by the legendary French baking professor Raymond Calvel. It literally means “self-split” and refers to the magic that happens when you simply let flour and water sit together.
Two key things are going on:
- Full Hydration: Flour is thirsty. When you just mix it with water, it takes time for every tiny particle to absorb the liquid. The autolyse gives it this time. A fully hydrated dough is smoother, more extensible (stretchy), and easier to work with.
- The Birth of Gluten (Without Kneading!): This is the cool part. Flour contains two proteins: glutenin and gliadin. When hydrated, they start to link up and form the gluten network. This is the web-like structure that traps the CO2 from your yeast, allowing the bread to rise. The autolyse kickstarts this gluten development all by itself.
- Simultaneously, enzymes in the flour called proteases get to work. Think of them as tiny molecular massage therapists, relaxing the gluten bonds. This doesn’t weaken the dough’s potential; it just relaxes it. This is why the dough feels softer and stretchier after the rest, and less like a stubborn, tight muscle. It’s the difference between trying to stretch a cold piece of taffy and a warm one.
The result? A dough that requires less kneading, is easier to shape, and has a better final volume and crumb structure. It’s a win-win-win.
The Autolyse Method: A Simple 3-Step Process
This is the simplest step in the whole process.
- Combine: In your main mixing bowl, add the flour and water called for in your recipe’s final dough.
- Mix: Use your hands or a spatula to mix just until no dry flour remains. Don’t knead! The dough should look shaggy and messy. That’s perfect.
- Rest: Cover the bowl and walk away.
How long? It depends.
- Short Autolyse (20-60 minutes): This is the standard for most recipes. It’s enough time to get the main benefits. Pro Tip: For your very first loaf using white flour, stick to a 30-45 minute autolyse. It delivers all the key benefits without adding complexity. You can experiment with longer times later.
- Long Autolyse (2-4 hours, or even overnight in the fridge): This can be great for whole wheat doughs, which are extra thirsty. If you autolyse for more than a couple of hours at room temperature, it’s a good idea to put the dough in the fridge to prevent unwanted fermentation.
A Wild Variation Appears: Fermentolyse!
This is a term you’ll see in more modern sourdough recipes.
- Autolyse: Flour + Water
- Fermentolyse: Flour + Water + Sourdough Starter
In a fermentolyse, you add the starter along with the flour and water at the beginning. The only thing you leave out is the salt.
Why do this?
- Pro: It combines the autolyse and the first part of bulk fermentation, saving a step. The dough gets a head start on fermenting.
- The Risk: Adding the starter early is like giving a toddler scissors. The active enzymes can get too enthusiastic and break down the gluten too much, especially with delicate whole grain flours, leading to a sticky mess. While a great technique, we recommend mastering the traditional autolyse first before trying this advanced step.
Why is salt left out? Salt is a powerhouse. It tightens the gluten network, which is exactly what we don’t want during this initial relaxation phase. We add it later, after the dough has had its spa day, to strengthen everything up.
For your first few loaves, a traditional autolyse is a great place to start. It lets you feel the distinct change in the dough’s texture before and after the rest.
Now that our flour is hydrated and relaxed, it’s time to introduce the salt and starter and begin the real workout.
Next Up: Part 3: Mixing & Kneading – The Great Gluten Workout →
Or jump directly to your favorite part:
- Pretzel & Rye Beginner’s Guide – Part 1: Taming the Yeast Beast (Your Sourdough Starter)
- Pretzel & Rye Beginner’s Guide – Part 2: The Autolyse – Giving Your Flour a Spa Day
- Pretzel & Rye Beginner’s Guide – Part 3: Mixing & Kneading – The Great Gluten Workout
- Pretzel & Rye Beginner’s Guide – Part 4: Bulk Fermentation – The First Big Rise
- Pretzel & Rye Beginner’s Guide – Part 5: Divide & Conquer – Preshaping Your Dough
- Pretzel & Rye Beginner’s Guide – Part 6: The Final Shape – From Blob to Boule
- Pretzel & Rye Beginner’s Guide – Part 7: The Final Proof – The Beauty Sleep
- Pretzel & Rye Beginner’s Guide – Part 8: The Grand Finale – Baking Your Loaf
- Pretzel & Rye Beginner’s Guide – Part 9: The Afterglow – Storing, Freezing & Reviving Bread