Part 3: Mixing & Kneading – The Great Gluten Workout
Alright, team. Our starter is bubbly, our flour is hydrated—it’s time to bring it all together. This is the stage where we take that shaggy, lifeless blob of dough to the gym. Our mission: transform it into a smooth, elastic, and powerful foundation for the future loaf by building some serious gluten. We’re going to organize all those lazy gluten strands into a strong, interconnected web.
The Science Bit: What is Kneading, Really?
We already kickstarted gluten development during the autolyse. Now, kneading takes it to the next level. The physical manipulation of stretching, folding, and pressing the dough does two crucial things:
- Gluten Development & Organization: The simple act of stretching the dough physically aligns the glutenin and gliadin proteins, encouraging them to form long, strong, and orderly chains. This creates the robust, web-like gluten network. A well-developed network is elastic (it can stretch) and tenacious (it wants to snap back). This is what will trap the gas produced by the yeast.
- Incorporating Oxygen: Kneading incorporates tiny air pockets into the dough. The yeast will use this oxygen for aerobic respiration in the beginning, helping them multiply and produce even more CO2 for the rise later on.
Imagine a jumbled mess of rubber bands. That’s your un-kneaded dough. Kneading is the process of untangling those bands and weaving them into a strong, stretchy net.
Step 1: The Final Mix
It’s time to introduce the remaining ingredients to the autolysed dough.
- Add the Starter: Spread your active, bubbly sourdough starter over the top of the autolysed dough.
- Add the Salt: Sprinkle the salt over the top.
- Get in There: With a wet hand (to prevent sticking), start pinching and squeezing the dough. Dimple it with your fingertips, then fold it over itself. Squeeze and fold, squeeze and fold. It will feel sloppy and weird at first—this is because the salt is drawing water out of the dough in a process called osmosis. Trust the process! After a few minutes of mixing, everything will come back together into a cohesive, albeit sticky, mass.
Step 2: The Kneading Method
There’s more than one way to build gluten. Here are the most common methods for home bakers.
Method 1: The Stand Mixer (The Easy Way)
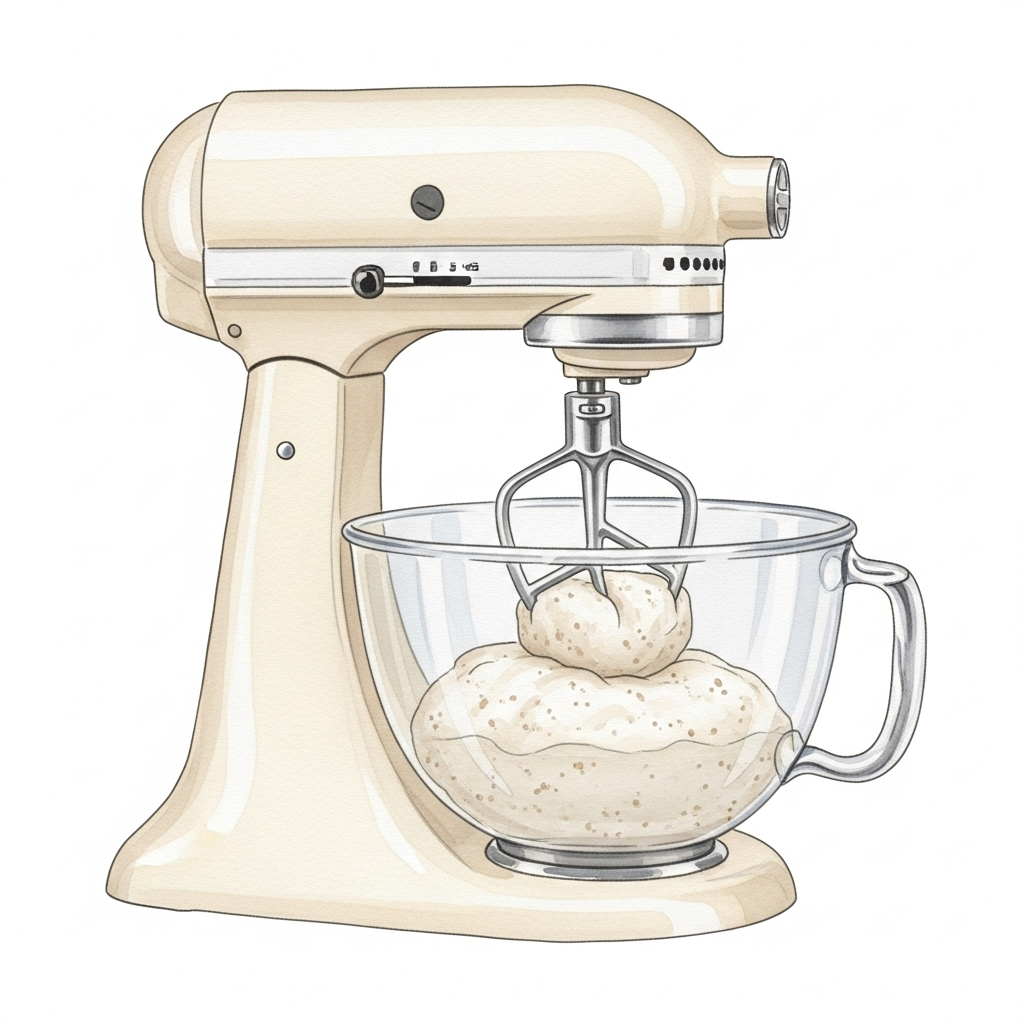
- How: Place your dough in the bowl of a stand mixer fitted with the dough hook. Mix on a low speed for 4-6 minutes, and then on a medium speed for another 4-6 minutes.
- Pros: It’s fast, easy, and does the heavy lifting for you.
- Cons: It’s easy to over-knead the dough, which can tear the gluten network and turn your dough into a soupy mess. Keep a close eye on it! It also incorporates more oxygen, which can slightly bleach the crumb and oxidize some flavor compounds (nerd alert!).
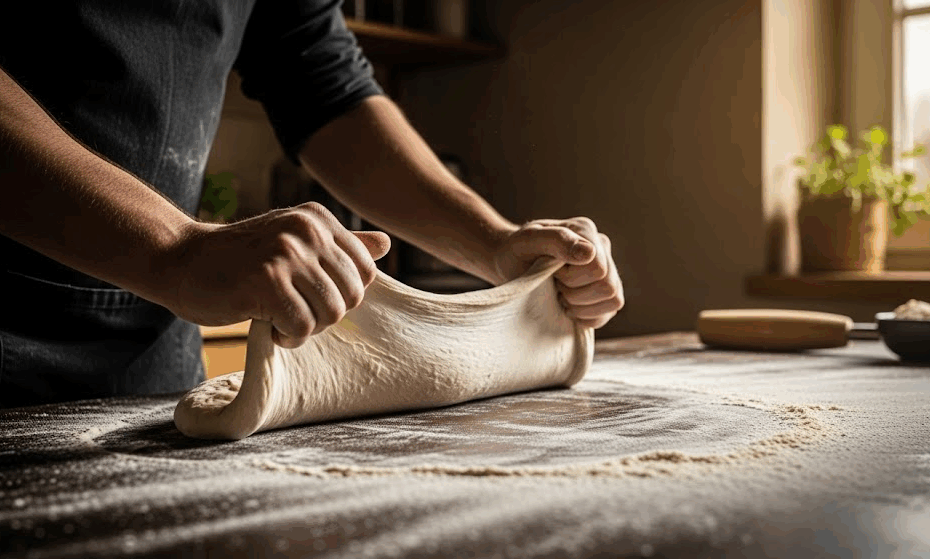
Method 2: Slap & Fold (The French Way)
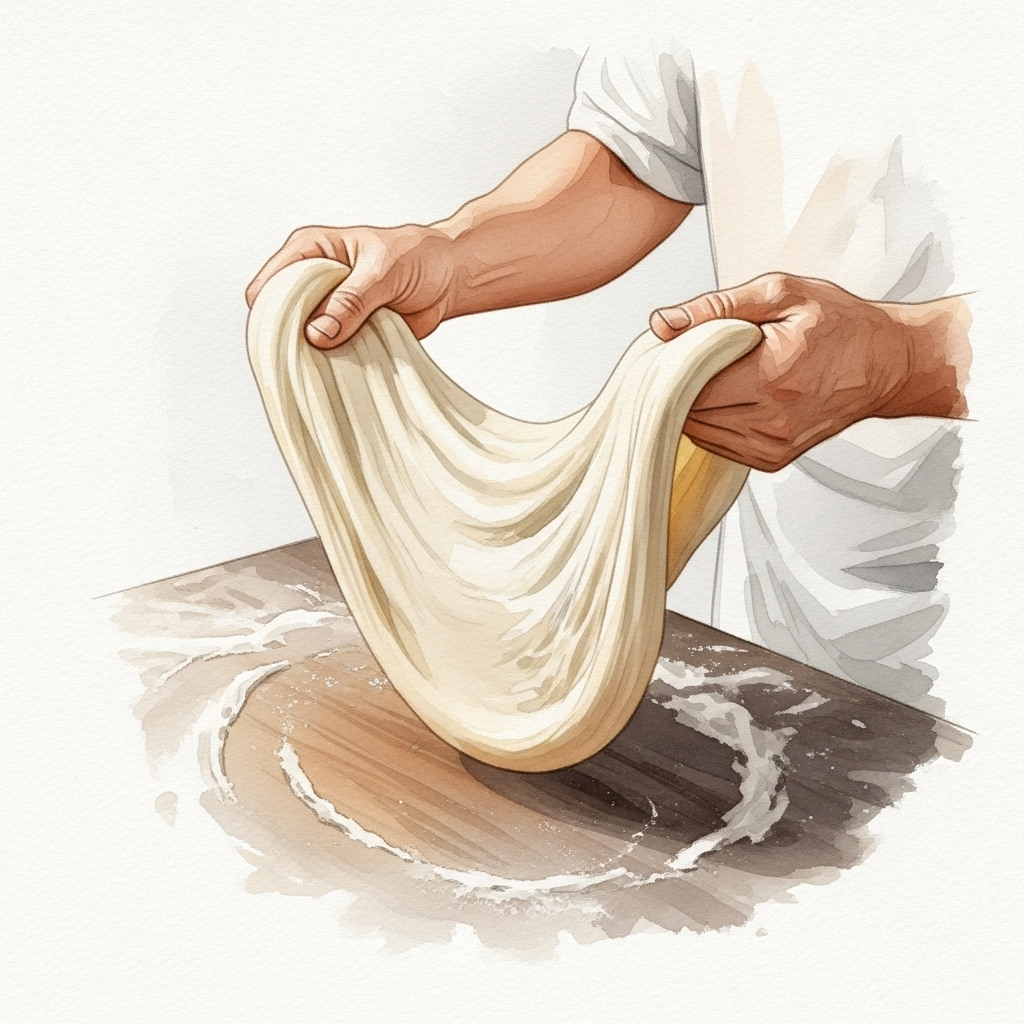
- How: This is the classic, and it’s cathartic. Wet your work surface slightly. Pick up the sticky dough, let the bottom part of it “slap” onto the counter, then stretch the part in your hands forward and “fold” it back over the part that’s on the counter. Rotate and repeat. It’s a mess for the first 5 minutes, then like magic, the dough comes together. Do this for about 10-15 minutes.
- Pros: Develops gluten very effectively and is the most satisfying method (in our humble opinion).
- The Learning Curve: Don’t be discouraged if it feels messy at first! Watch a video or two online to get the rhythm. After a couple of tries, the technique clicks and becomes incredibly intuitive and fun.
Method 3: Stretch & Folds (The Gentle Way)
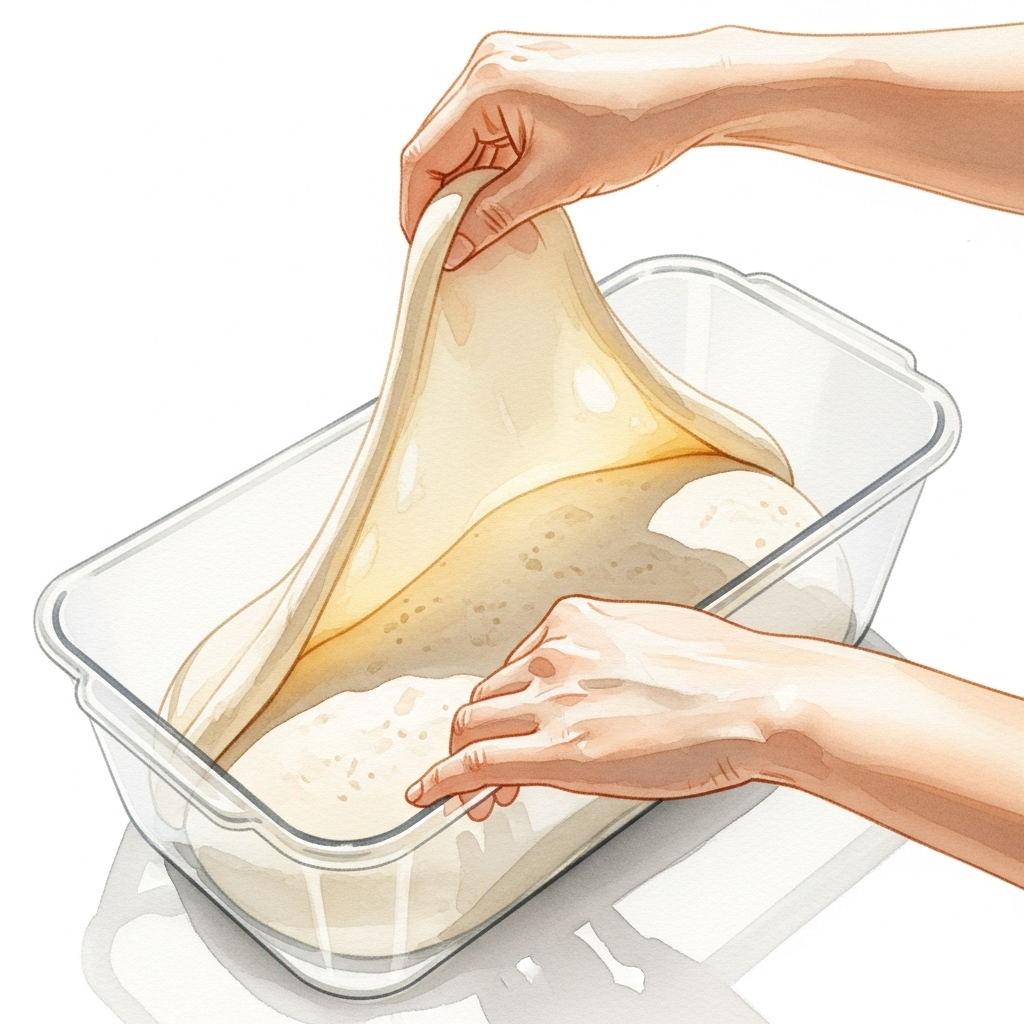
- How: This is a key technique, especially for high-hydration, sticky doughs. Instead of one long kneading session, you do a series of short “folds” during the first part of the next stage (Bulk Fermentation). We will cover this in detail in the next part of the guide!
- Pros: Very gentle, requires minimal effort, and develops a beautiful, open crumb.
- Function: This method combines gluten development with fermentation time, making it a technique of ‘in-process’ strengthening rather than a single upfront kneading session. It’s the standard for many modern no-knead sourdough recipes.
How Do I Know When I’m Done? The Windowpane Test
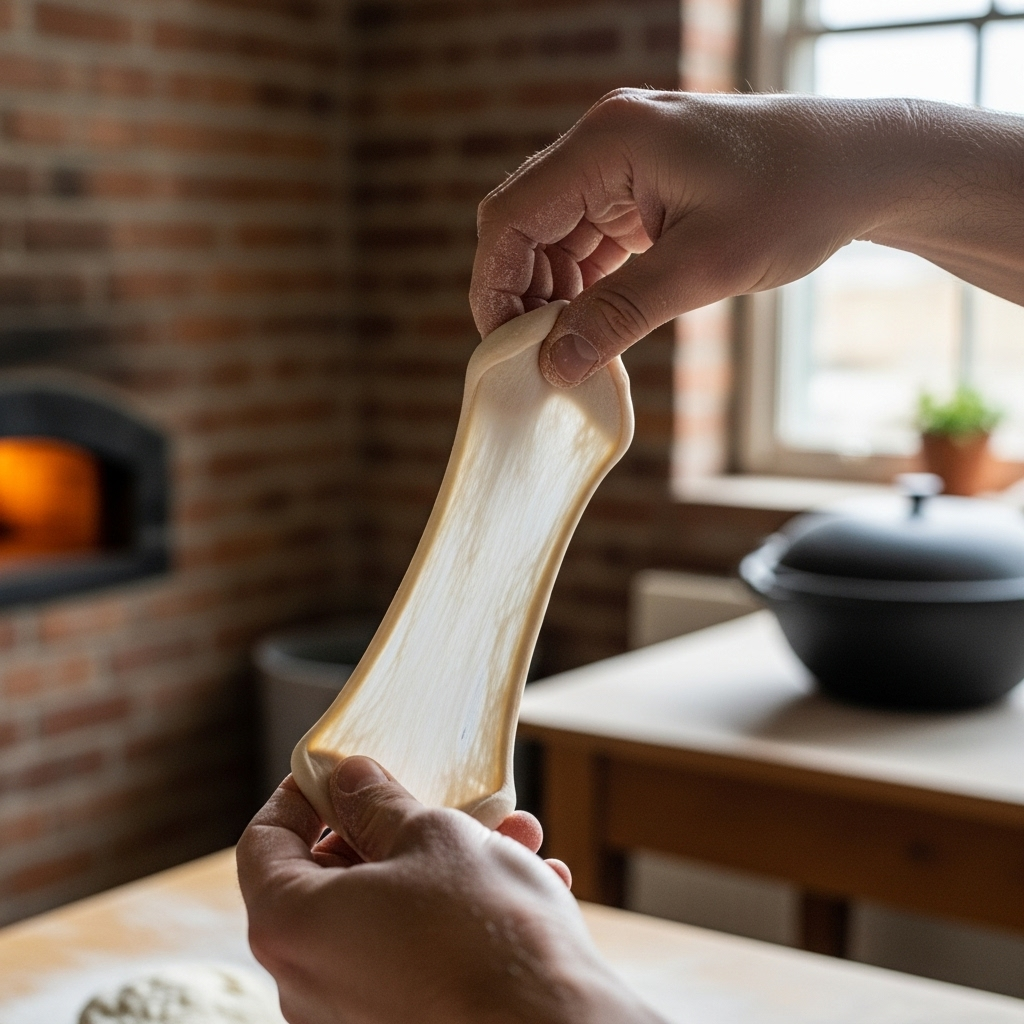
This is the ultimate test for gluten development.
- Take a small, golf-ball-sized piece of dough.
- Gently and slowly stretch it between your fingers.
- If you can stretch it so thin that you can see light through it without it tearing (like a windowpane), your gluten is perfectly developed.
- If it tears easily, it needs more kneading.
Now your dough is strong, organized, and ready for its first long rest. This is where the real fermentation magic begins.
Next Up: Part 4: Bulk Fermentation – The First Big Rise →
Or jump directly to your favorite part:
- Pretzel & Rye Beginner’s Guide – Part 1: Taming the Yeast Beast (Your Sourdough Starter)
- Pretzel & Rye Beginner’s Guide – Part 2: The Autolyse – Giving Your Flour a Spa Day
- Pretzel & Rye Beginner’s Guide – Part 3: Mixing & Kneading – The Great Gluten Workout
- Pretzel & Rye Beginner’s Guide – Part 4: Bulk Fermentation – The First Big Rise
- Pretzel & Rye Beginner’s Guide – Part 5: Divide & Conquer – Preshaping Your Dough
- Pretzel & Rye Beginner’s Guide – Part 6: The Final Shape – From Blob to Boule
- Pretzel & Rye Beginner’s Guide – Part 7: The Final Proof – The Beauty Sleep
- Pretzel & Rye Beginner’s Guide – Part 8: The Grand Finale – Baking Your Loaf
- Pretzel & Rye Beginner’s Guide – Part 9: The Afterglow – Storing, Freezing & Reviving Bread