Part 5: Divide & Conquer – Preshaping Your Dough
The bulk fermentation is complete! Your dough is alive, jiggly, and smells incredible. Now, your role shifts from being a patient observer to a gentle guide. It’s time to coax the dough from its bowl and begin persuading it into the shape of a future loaf.
This stage involves two quick, gentle steps: dividing (if you’re making more than one loaf) and preshaping. Think of this as a gentle nudge, a suggestion to the dough of the shape it will eventually become.
The Science Bit: Why Preshaping?
This step seems fussy and skippable, but it’s a secret weapon for a well-shaped final loaf.
- Building Surface Tension: The primary goal is to create a “skin” on the outside of the dough. By gently stretching the outer layer of the dough and tucking it underneath, you’re aligning the gluten strands on the surface. This creates a tight, cohesive outer layer that helps the dough hold its shape.
- Evening out the Structure: During bulk fermentation, the gas bubbles are all different sizes and randomly distributed. Preshaping gently redistributes these bubbles and evens out the dough’s internal structure without completely deflating it.
- The Dress Rehearsal: Think of this as a rehearsal for the final performance. It organizes the dough, builds its confidence, and gets it ready for the main event of final shaping.
Step 1: Dividing the Dough

If your recipe makes two loaves, this is where you split them.
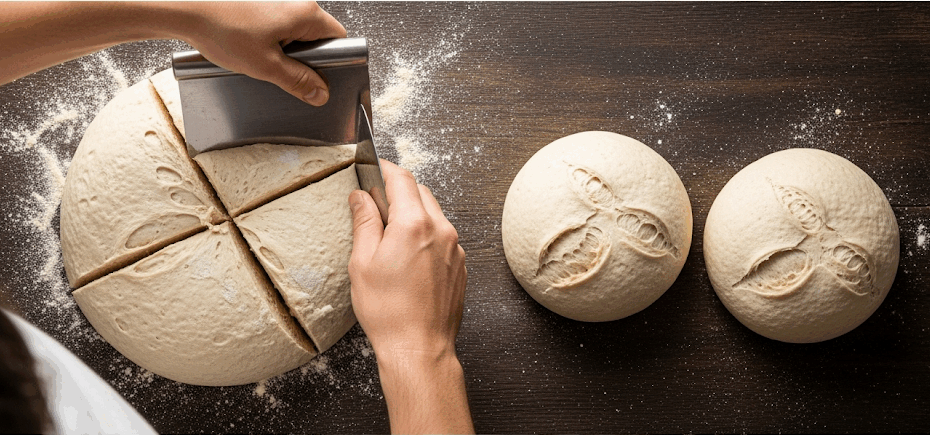
- Turn Out the Dough: Lightly flour your work surface. Gently scrape the dough out of its bowl onto the floured surface. You want to be gentle here to preserve as many of those precious gas bubbles as you can.
- Divide (If Necessary): Use a bench scraper or a large knife to divide the dough into equal portions by weight. A kitchen scale is your best friend for ensuring evenly sized loaves. Try to do this in one or two decisive cuts. Sawing at the dough can tear the beautiful gluten network you just spent hours developing.
Step 2: The Preshape
The goal is to create a loose round (a “boule”) or oblong (a “batard”) shape. The key word here is loose. You are not looking for a perfectly tight ball yet.
How to Preshape a Round (Boule):
- Take one piece of your dough.
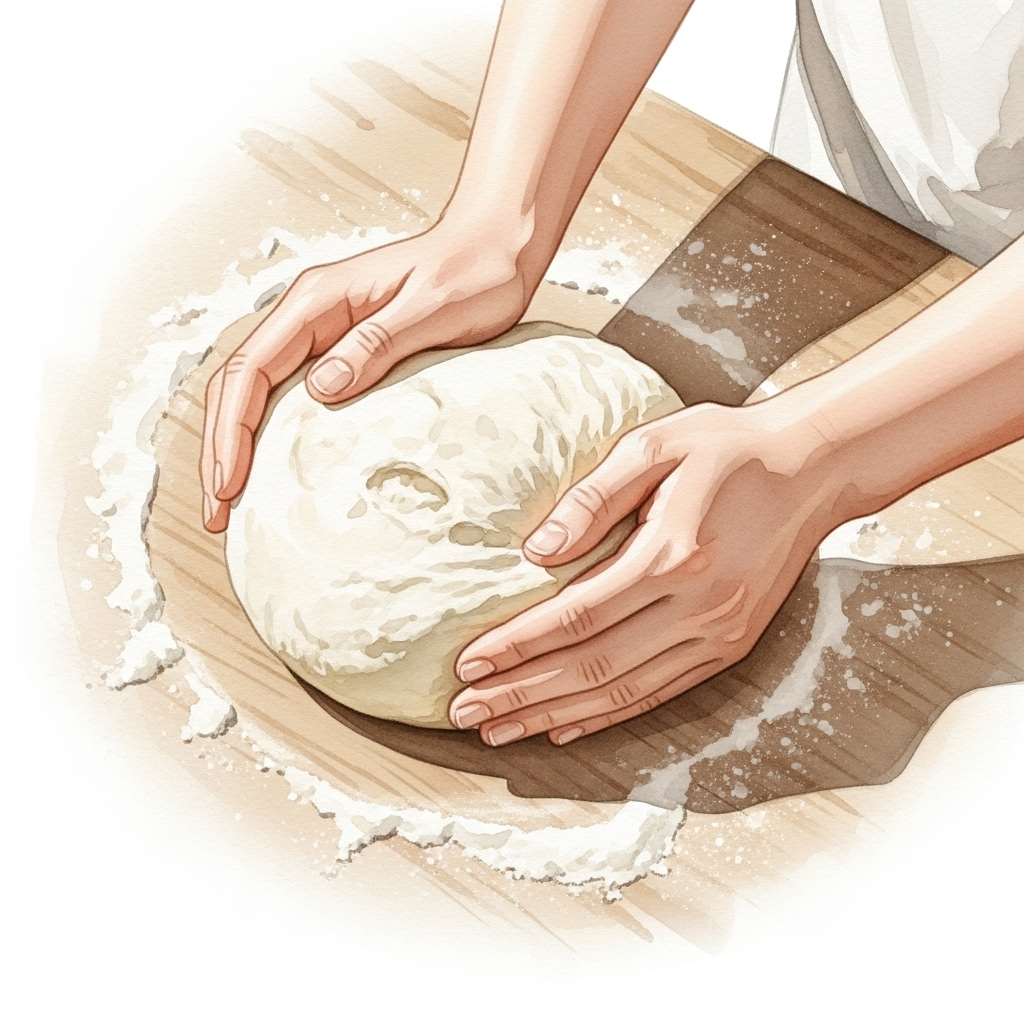
- With a bench scraper or cupped hands, push the dough in a circular motion on the counter. The slight friction will cause the dough to tuck under itself, creating a uniform ball.
- Picture the dough as a clock face. Gently fold the edge from 12 o’clock down to the center. Then fold from 6 o’clock up to the center. Then 9 to the center, and 3 to the center.
- Flip the dough over so the seams are on the bottom.
- Cup your hands around the dough and gently drag it towards you on the counter. The slight friction will cause the front of the dough to tuck under itself, creating surface tension.
- Rotate and repeat a few times until you have a fairly uniform, round shape that holds itself together.
How to Preshape an Oblong (Batard):
- Gently pat your dough into a rough rectangle.
- Fold the top third down to the middle, like folding a letter.
- Fold the bottom third up to the middle.
- Gently roll the dough up from one of the short ends to create a log shape.
Step 3: The Bench Rest
Once preshaped, you must let the dough rest.
- Cover: Cover the preshaped dough with a clean kitchen towel or an inverted bowl.
- Rest: Let it sit on the counter for 20-30 minutes.
Why? Think of the gluten network as a muscle you just worked out. It needs a moment to rest and relax. If you tried to do the final shaping immediately, the tense dough would fight back and tear. This “bench rest” makes it pliable and ready for its final transformation.
After this short rest, your dough will have relaxed and spread out a bit. It’s now ready for its final, more assertive shaping.
Next Up: Part 6: The Final Shape – From Blob to Boule →
Or jump directly to your favorite part:
- Pretzel & Rye Beginner’s Guide – Part 1: Taming the Yeast Beast (Your Sourdough Starter)
- Pretzel & Rye Beginner’s Guide – Part 2: The Autolyse – Giving Your Flour a Spa Day
- Pretzel & Rye Beginner’s Guide – Part 3: Mixing & Kneading – The Great Gluten Workout
- Pretzel & Rye Beginner’s Guide – Part 4: Bulk Fermentation – The First Big Rise
- Pretzel & Rye Beginner’s Guide – Part 5: Divide & Conquer – Preshaping Your Dough
- Pretzel & Rye Beginner’s Guide – Part 6: The Final Shape – From Blob to Boule
- Pretzel & Rye Beginner’s Guide – Part 7: The Final Proof – The Beauty Sleep
- Pretzel & Rye Beginner’s Guide – Part 8: The Grand Finale – Baking Your Loaf
- Pretzel & Rye Beginner’s Guide – Part 9: The Afterglow – Storing, Freezing & Reviving Bread