Part 6: The Final Shape – From Blob to Boule
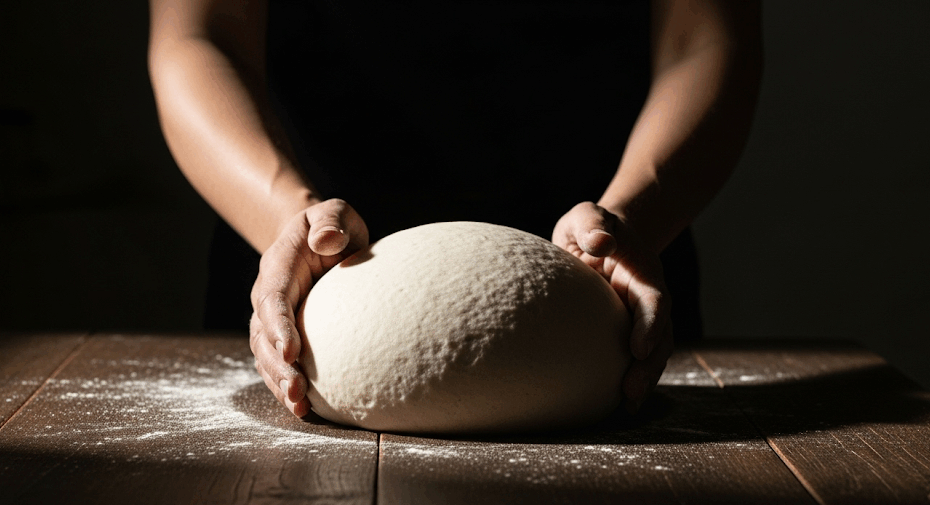
Welcome to the main event of the shaping world! The bench rest is over, and your dough is relaxed and ready. The final shape is where you take your preshaped round and give it the structure and tension it needs to rise up, not out, in the oven.
This is the more assertive, confident sibling of the preshape. The goal is the same—create surface tension—but this time, we mean business. A good final shape is the difference between a proud, tall loaf with a beautiful ‘ear,’ and its sad, flat cousin, the ‘pancake’—a disc of disappointment.
The Science Bit: The Power of a Tight Skin
Why are we so obsessed with surface tension?
Imagine a balloon. To inflate it, the rubber needs to have enough elasticity and strength to contain the air being blown into it. Your dough is the balloon, and the CO2 from the yeast is the air.
The final shaping process creates a tight, strong “skin” of interwoven gluten strands on the outside of your loaf. This skin acts like the rubber of the balloon. When the dough hits the hot oven, the yeast goes into a frenzy of gas production (this is called “oven spring”). A strong skin will trap all that gas, forcing the loaf to expand upwards, resulting in a beautiful, tall loaf with an open crumb.

A weak skin, on the other hand, will tear or stretch outwards, allowing the gas to escape and the loaf to spread into a disc.
How to Do the Final Shape
The movements are similar to preshaping, but with more intention and a bit more force. Lightly flour your work surface, but not too much—you need some friction. Pro Tip: If your dough is very sticky, it’s better to lightly flour your hands and the top of the dough rather than adding too much flour to the surface, which can create a raw flour seam inside your loaf.
Shaping a Round Loaf (Boule)
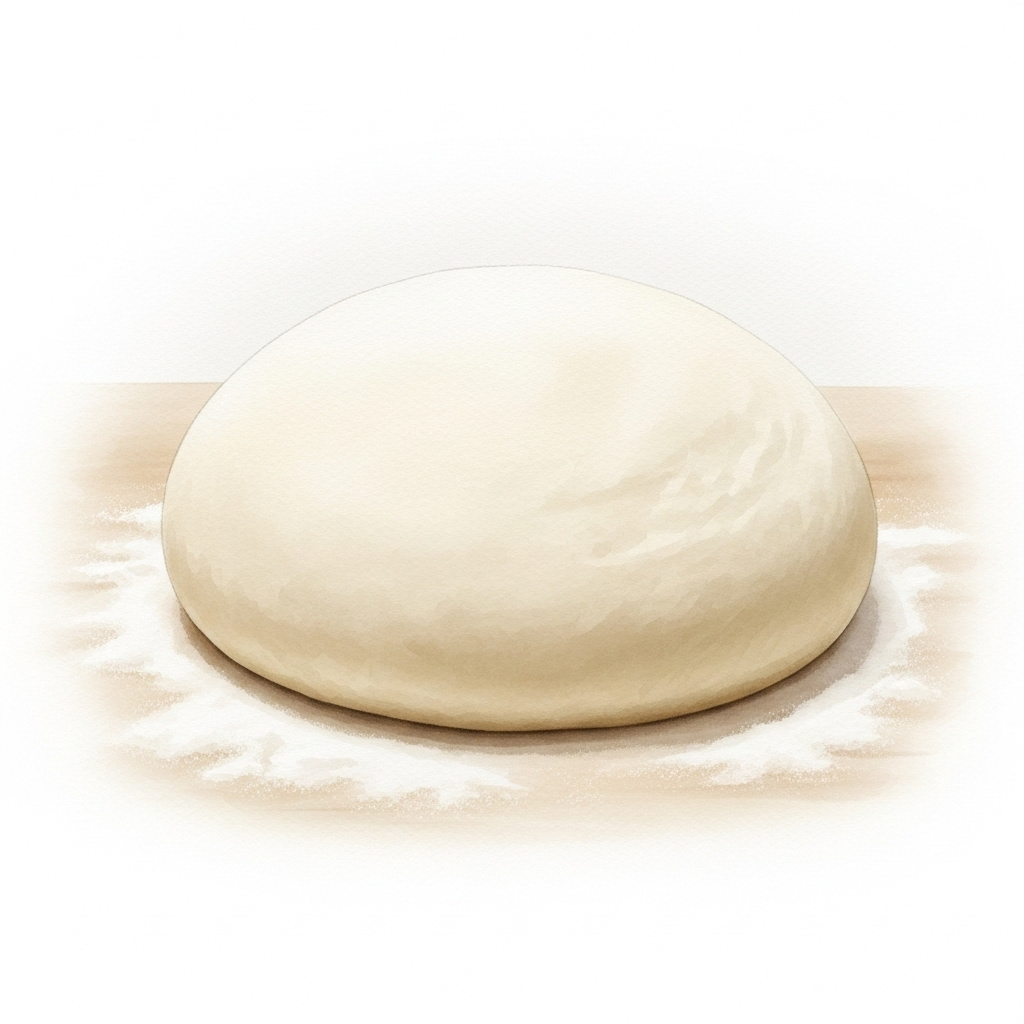
- Flip and Flatten: Take your rested, preshaped dough and flip it over so the smooth top is now on your floured surface. Gently press it into a rough circle.
- Fold with Purpose: Just like in the preshape, fold the top edge down to the center, but this time, press down firmly to seal it. Stretch the sides out slightly and fold them into the center, sealing again. Finally, pull the bottom edge up and over everything, creating a tight little package.
- Create the Seam: Pinch the seam closed along the entire length of your dough package.
- Final Tensioning: Flip the loaf over so the seam is on the bottom. Cup your hands around the far side of the dough and gently drag it towards you, using the slight friction of the counter to tuck the dough under itself. Rotate the dough a quarter turn and repeat this dragging motion a few times. You should feel the surface of the dough becoming tight and smooth under your hands. You should see a smooth, taut surface. Be careful not to tear it.
Shaping an Oblong Loaf (Batard)
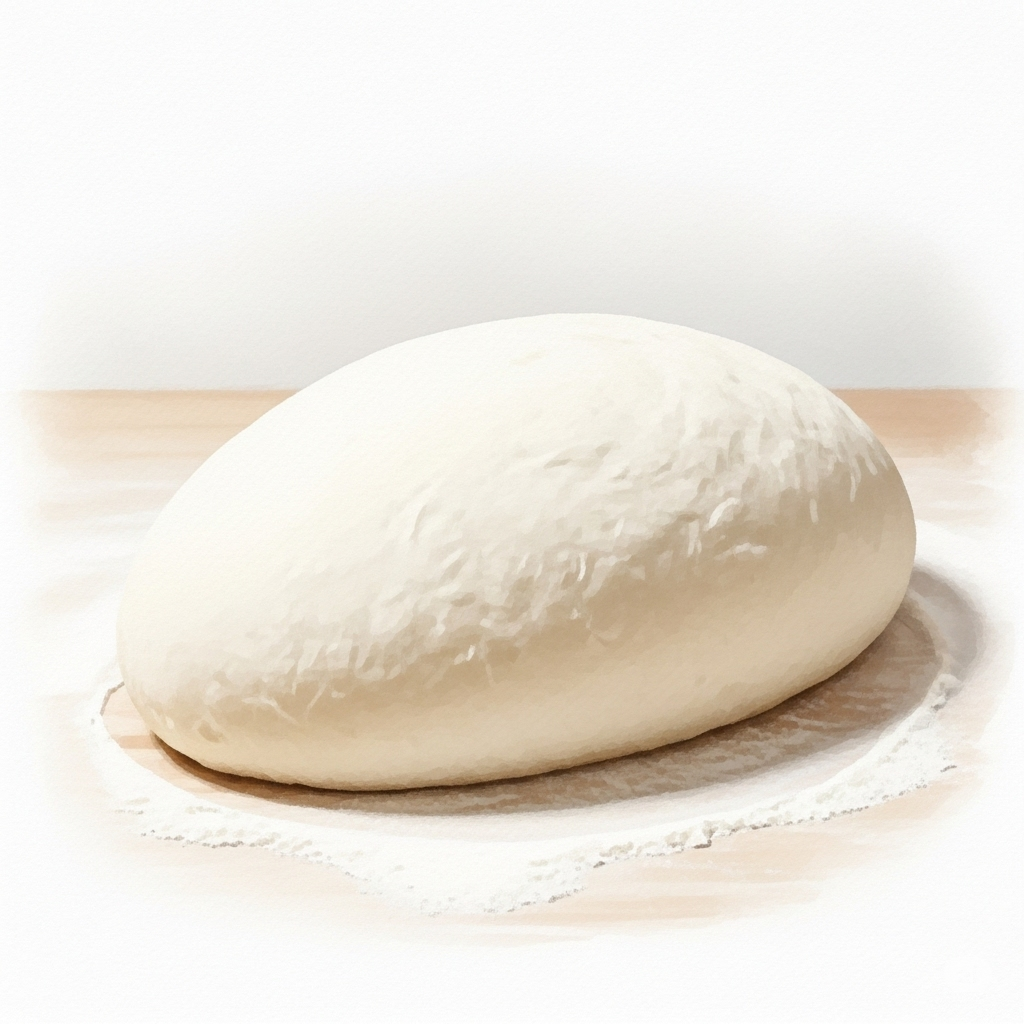
- Flip and Flatten: Flip your rested dough and gently press it into a rectangle.
- Top Fold: Fold the top edge down about two-thirds of the way and press to seal.
- Fold and Tighten: Starting from one side, take the top edge of your new ‘flap,’ pull it gently towards you, and then press it firmly into the center of the dough with your fingertips. This motion creates tension. Continue this pulling and pressing motion across the entire length of the dough.
- Roll and Seal: Tightly roll the dough down towards you, creating a taught log.
- Seal the Seam: Place the log seam-side up and pinch the seam closed along the entire length. You can also press the ends in slightly to create a more uniform shape.
- Place in a Banneton: Place the shaped loaf, seam-side up, into a well-floured proofing basket (banneton). Pro Tip: Always place the loaf with the seam facing up. This ensures that when you tip the dough out for baking, the smooth, taut skin you worked so hard to create is on top, providing the perfect canvas for scoring.
Your loaf is now beautifully shaped and full of potential. It’s time for its final nap before the big show.
Next Up: Part 7: The Final Proof – The Beauty Sleep →
Or jump directly to your favorite part:
- Pretzel & Rye Beginner’s Guide – Part 1: Taming the Yeast Beast (Your Sourdough Starter)
- Pretzel & Rye Beginner’s Guide – Part 2: The Autolyse – Giving Your Flour a Spa Day
- Pretzel & Rye Beginner’s Guide – Part 3: Mixing & Kneading – The Great Gluten Workout
- Pretzel & Rye Beginner’s Guide – Part 4: Bulk Fermentation – The First Big Rise
- Pretzel & Rye Beginner’s Guide – Part 5: Divide & Conquer – Preshaping Your Dough
- Pretzel & Rye Beginner’s Guide – Part 6: The Final Shape – From Blob to Boule
- Pretzel & Rye Beginner’s Guide – Part 7: The Final Proof – The Beauty Sleep
- Pretzel & Rye Beginner’s Guide – Part 8: The Grand Finale – Baking Your Loaf
- Pretzel & Rye Beginner’s Guide – Part 9: The Afterglow – Storing, Freezing & Reviving Bread