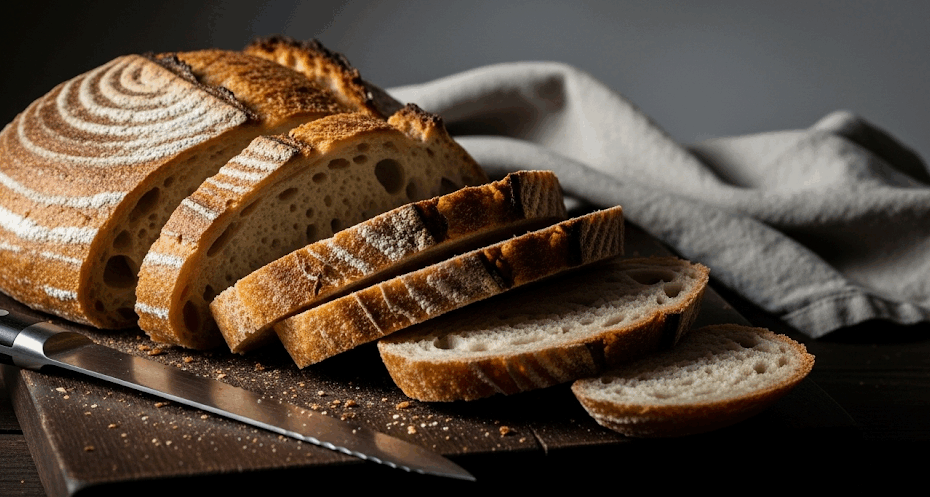
Part 8: The Grand Finale – Baking Your Loaf
This is it. The moment all your hard work has been leading to. The house smells incredible, the oven is blazing hot, and your beautiful dough is ready for its final, glorious transformation. You’ve spent days nurturing a living culture, mixing, kneading, and waiting. Now, you get to witness the incredible transformation from a pale, soft dough into a magnificent, golden-brown loaf of bread. It’s time to bake.
The secret to a bakery-quality crust and a huge “oven spring” (the rapid rise in the first few minutes of baking) is initial high heat and trapped steam.
The Science Bit: The Magic of Steam
Why are we so obsessed with steam?
When you put your dough into a blazing hot oven, two things happen at once:
- The yeast goes into a final, panicked frenzy before dying off, producing a massive burst of CO2. This is oven spring.
- The crust begins to form.
Without steam, the hot, dry air of the oven would form a hard, rigid crust almost immediately. This would trap the dough and prevent it from expanding to its full potential, resulting in a dense, squat loaf.
Steam is the solution. By creating a super-humid environment for the first 15-20 minutes of baking, we keep the surface of the dough moist and pliable. This allows the crust to stay soft and stretchy long enough for the oven spring to fully inflate the loaf. Once the loaf has reached its maximum volume, we remove the steam source, allowing the hot, dry air to finally create that thick, crispy, deeply caramelized crust we all crave.
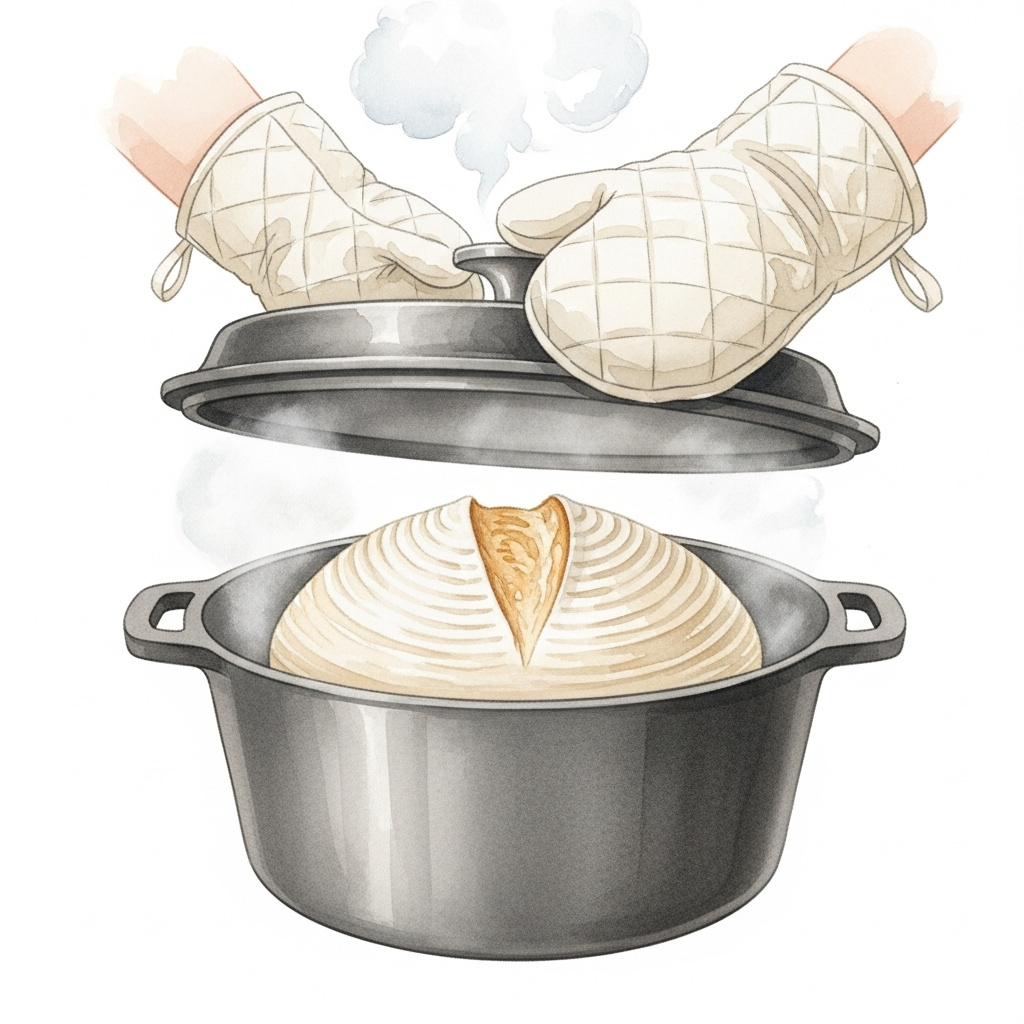
The Home Baker’s Secret Weapon: The Dutch Oven
How do we create a steam-filled environment like a professional deck oven at home? With a Dutch oven (or any heavy, lidded pot like a cast-iron combo cooker or enamel pot).
By preheating the heavy pot and baking with the lid on, the moisture from the dough itself gets trapped, creating a perfect, self-contained steam chamber. It’s a simple and incredibly effective hack.
The Art of Scoring
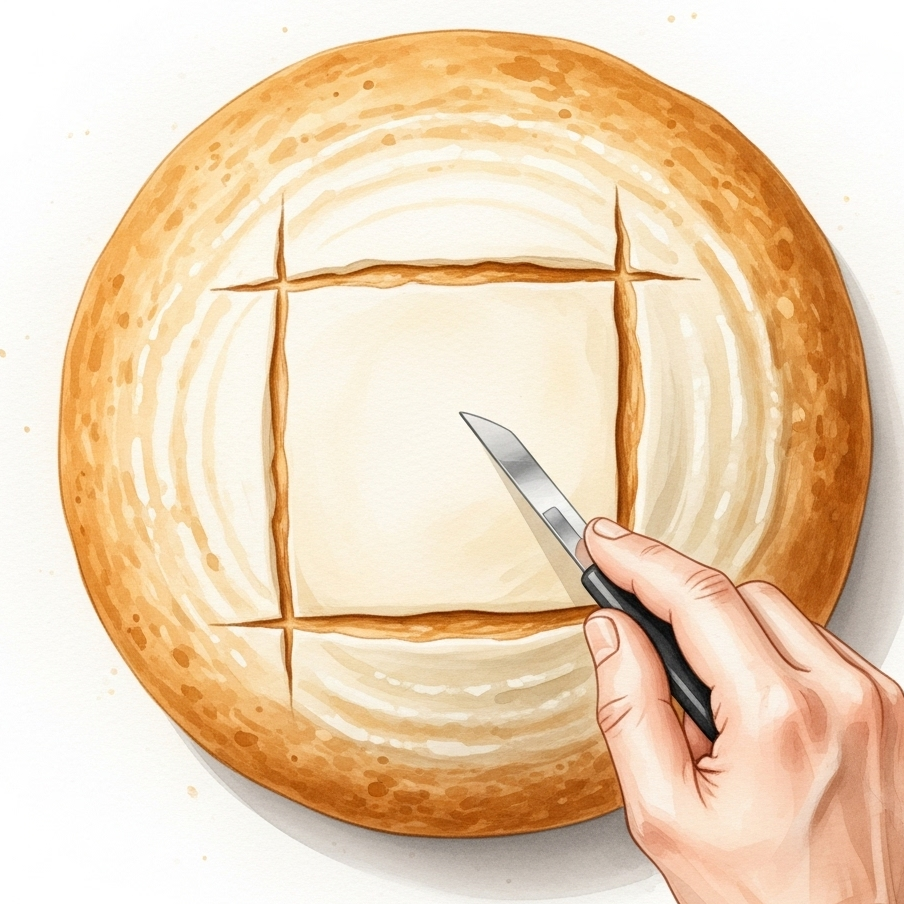
Before your loaf hits the heat, it needs one final touch: a strategic cut on its surface. This is called scoring. It’s both functional and an opportunity for artistic expression.
- Why We Score: Function Meets BeautyScoring isn’t just for looks; it’s a controlled weak point. As the loaf rapidly expands during oven spring, the gas needs a place to escape. Without a designated score line, the loaf will burst open unpredictably wherever its skin is weakest. A proper score guides this expansion, allowing the loaf to rise to its full potential and create a beautiful, crisp “ear”—the coveted raised edge of the crust along the score line.
- The Right Tools for the JobThe key is a very, very sharp blade. A dull knife will drag on the dough and ruin the shape.
- Bread Lame: This is the traditional tool—a double-edged razor blade mounted on a handle. It’s designed for this exact purpose.
- Fresh Razor Blade: A simple, clean, single-edge razor blade from the hardware store works perfectly. Handle with care!
- Very Sharp Knife: A thin, very sharp paring knife or scalpel can work in a pinch, but a razor is superior.
- Basic Patterns for BeginnersConfidence is key. A quick, decisive cut works much better than a hesitant one. For your first loaves, try these simple, effective patterns:
- The Single Slash: For an oblong loaf (batard), a single, long slash from end to end at a slight angle is classic and beautiful.
- The “X” or Cross: For a round loaf (boule), two perpendicular cuts forming a simple “X” in the center allows for even expansion.
- The Square: For a boule, four cuts forming a square in the center is another easy and attractive option.
The Baking Process: Step-by-Step
- Preheat Everything: Place your Dutch oven, with its lid on, into your oven. Preheat the oven to a very high temperature, typically 475-500°F (245-260°C). Let it preheat for at least 45 minutes, or a full hour to be safe. You want that pot to be screaming hot. This long preheat ensures the pot itself stores a massive amount of thermal energy, which it will transfer directly to your dough for the best possible oven spring.
- Prepare to Bake: Once preheated, take your proofed dough out of the fridge. Carefully flip it out of the banneton onto a small piece of parchment paper. The smooth side should now be up.
- Score the Loaf: As described in the section above, confidently score your dough with your chosen pattern. Aim for a cut that is about a quarter to a half-inch deep (about 1 cm).
- The Transfer: Carefully remove the extremely hot Dutch oven from your oven. Take off the lid. Using the parchment paper as a sling, carefully and quickly lower your scored dough into the hot pot. Don’t worry if it’s not perfectly centered. It’s better to be quick and safe than to fiddle with the hot pot.
- Bake with Steam (Lid On): Put the lid back on the pot and place it back in the oven. Immediately turn the temperature down to the recipe’s baking temp, usually around 450°F (230°C). Bake for 20 minutes.
- Bake without Steam (Lid Off): After 20 minutes, carefully remove the lid. You will be greeted by a pale but miraculously expanded loaf. Now, continue to bake the loaf, uncovered, for another 20-30 minutes. This is when the color and crust develop.
- **Is It Done? While visual cues are helpful, the most reliable method is to check the internal temperature with an instant-read thermometer; it should be between 205-210°F (96-99°C). You’re also looking for a deep, dark brown crust (don’t be afraid of color—color is flavor!) and a hollow sound when you tap the bottom of the loaf.
- Cool It! Remove the bread from the pot and place it on a wire rack. Now comes the hardest part…
Next Up: Part 9: The Afterglow – Storing, Freezing & Reviving Bread →
Or jump directly to your favorite part:
- Pretzel & Rye Beginner’s Guide – Part 1: Taming the Yeast Beast (Your Sourdough Starter)
- Pretzel & Rye Beginner’s Guide – Part 2: The Autolyse – Giving Your Flour a Spa Day
- Pretzel & Rye Beginner’s Guide – Part 3: Mixing & Kneading – The Great Gluten Workout
- Pretzel & Rye Beginner’s Guide – Part 4: Bulk Fermentation – The First Big Rise
- Pretzel & Rye Beginner’s Guide – Part 5: Divide & Conquer – Preshaping Your Dough
- Pretzel & Rye Beginner’s Guide – Part 6: The Final Shape – From Blob to Boule
- Pretzel & Rye Beginner’s Guide – Part 7: The Final Proof – The Beauty Sleep
- Pretzel & Rye Beginner’s Guide – Part 8: The Grand Finale – Baking Your Loaf
- Pretzel & Rye Beginner’s Guide – Part 9: The Afterglow – Storing, Freezing & Reviving Bread