Part 1: Taming the Yeast Beast (Your Sourdough Starter)
Welcome, future bread wizard, to the most magical and occasionally maddening part of your baking journey: the sourdough starter. Think of it as your first pet, a Tamagotchi made of flour and water, or a tiny, bubbly roommate that lives in a jar and demands to be fed. This is the living heart of your future bread, the soul of every loaf, and its name is Legion, for it contains multitudes.
This guide will walk you through creating, maintaining, and understanding this weird, wonderful goop.
The Science Bit: What is This Thing?
The Living Culture
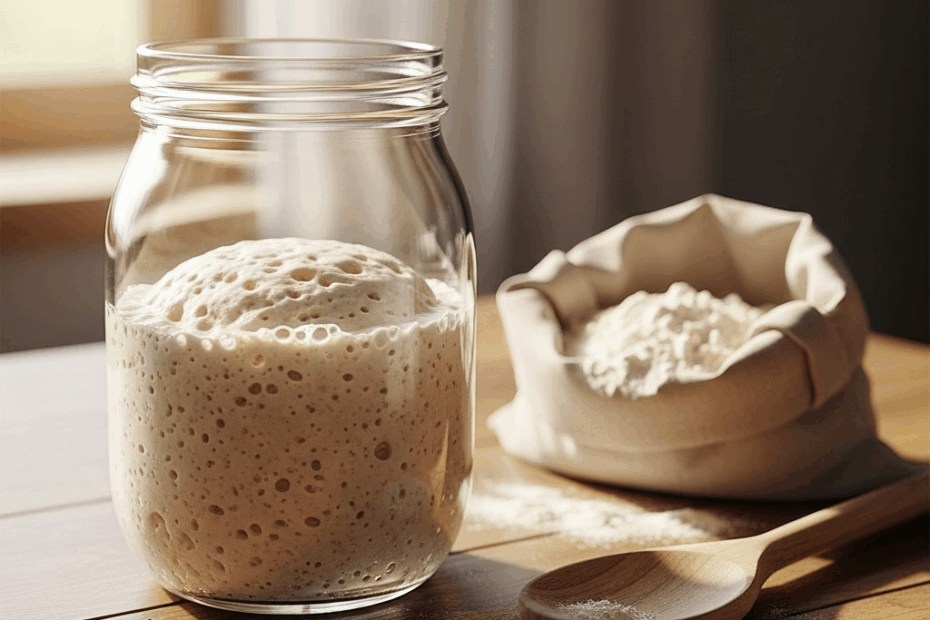
A sourdough starter isn’t just an ingredient; it’s a living ecosystem. This symbiotic culture of wild yeasts and beneficial bacteria is what gives your bread its rise, its complex flavor, and its legendary shelf life. Your first task as a baker is to cultivate this magical goop.
A starter is a balanced ecosystem of wild yeast (for rise) and lactic acid bacteria (for flavor and preservation).
At its core, a sourdough starter is a symbiotic culture of wild yeasts and lactic acid bacteria (LAB). They’re everywhere—in the flour, in the air, on your hands. Your job is to create a happy home where the good guys thrive and the bad guys get evicted.
This yeast-and-bacteria tag team is what makes sourdough bread so uniquely flavorful, digestible, and long-lasting.
- Wild Yeast (specifically Saccharomyces cerevisiae and friends): These are the party animals. They eat the sugars in the flour and burp out carbon dioxide. These CO2 bubbles are what get trapped in your dough’s gluten network, making your bread rise. No yeast, no poof.
- Lactic Acid Bacteria (LAB, Lactobacillus species): These are the flavor artists and the bodyguards. They also eat sugars, but they produce lactic acid and acetic acid.
- Lactic Acid gives your bread that classic, mild, yogurt-like tang.
- Acetic Acid (think vinegar) provides a sharper, more pungent sourness.
- The acidity they create also acts as a natural preservative and protects the starter from mold and unfriendly bacteria. This is a key secret you can control: warmer conditions tend to favor lactic acid for a milder tang, while cooler temperatures can encourage more acetic acid for a sharper sourness.
Phase 1: Creating Your Starter from Scratch
This will take about 7-14 days. Patience is your most important ingredient. We’ll use whole wheat or rye flour to start, as they contain more microorganisms and nutrients to get the party started.
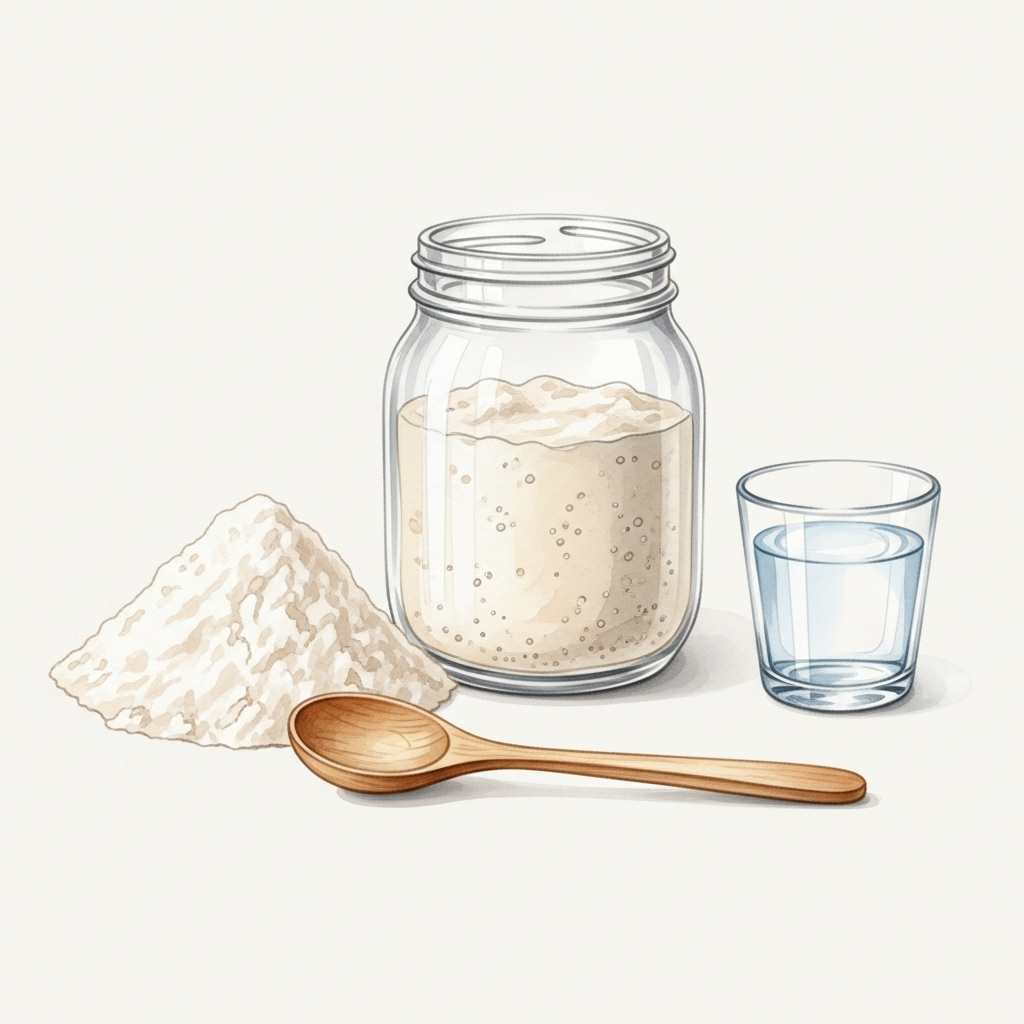
You’ll need:
- A clean glass jar (a quart-sized mason jar is perfect)
- Whole wheat or whole rye flour
- Unbleached all-purpose or bread flour
- Water (filtered or tap water left out for an hour to let chlorine evaporate)
- A kitchen scale (non-negotiable for baking!)
Let’s do this:
The 7-Day Awakening
Creating a starter from scratch is a week-long journey of patience. You are simply creating a happy home for the wild yeast and bacteria present in flour to thrive.
Days 1-2: Initial Mix & Lag Phase
Days 3-4: First Feedings & “The Funk”
Days 5-6: Establishing Rhythm & Good Smells
Day 7+: Mature, Bubbly & Ready to Bake
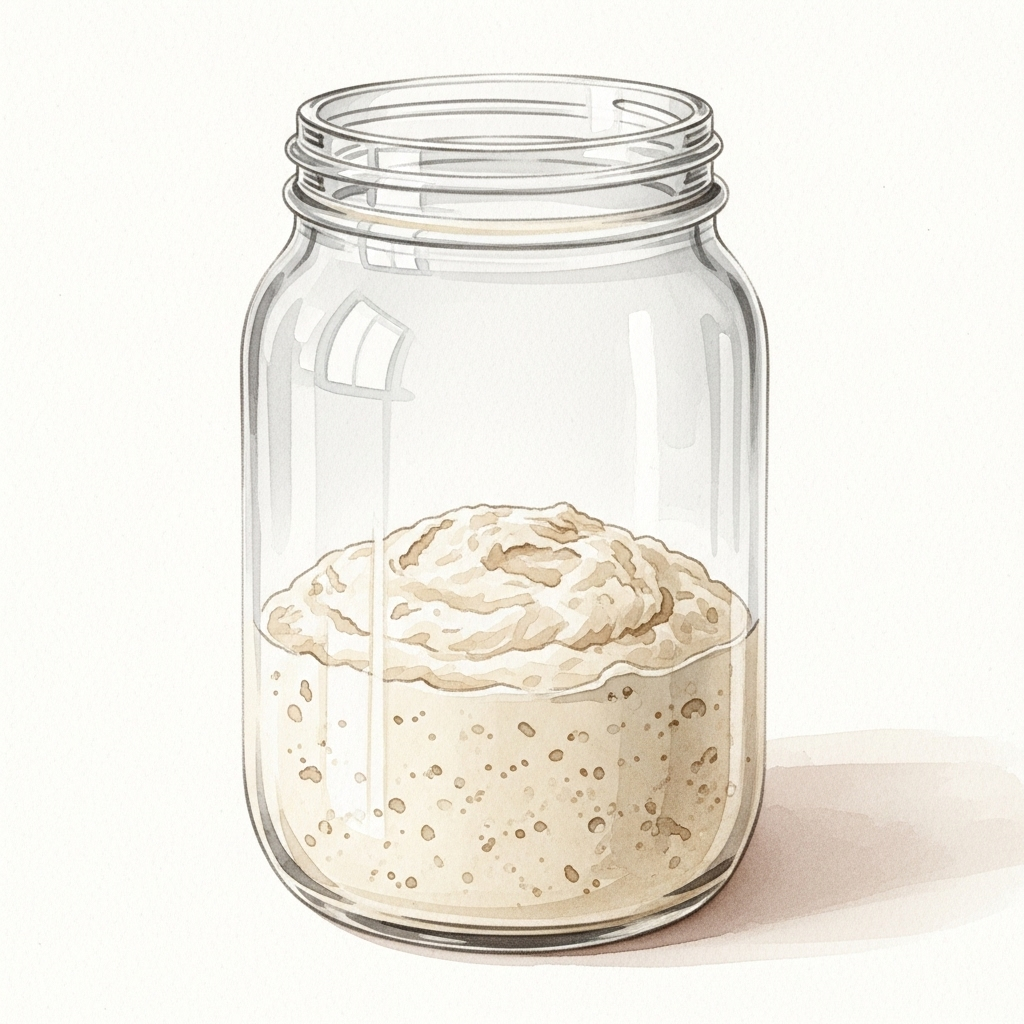
- Day 1: The First Mix In your jar, mix 60g (1/2 cup) of whole wheat/rye flour with 60g (1/4 cup) of lukewarm water. Stir until it’s the consistency of thick pancake batter. Scrape down the sides, cover loosely (just set the lid on top, don’t tighten it), and leave it in a warm spot (75-80°F / 24-27°C) for 24 hours.
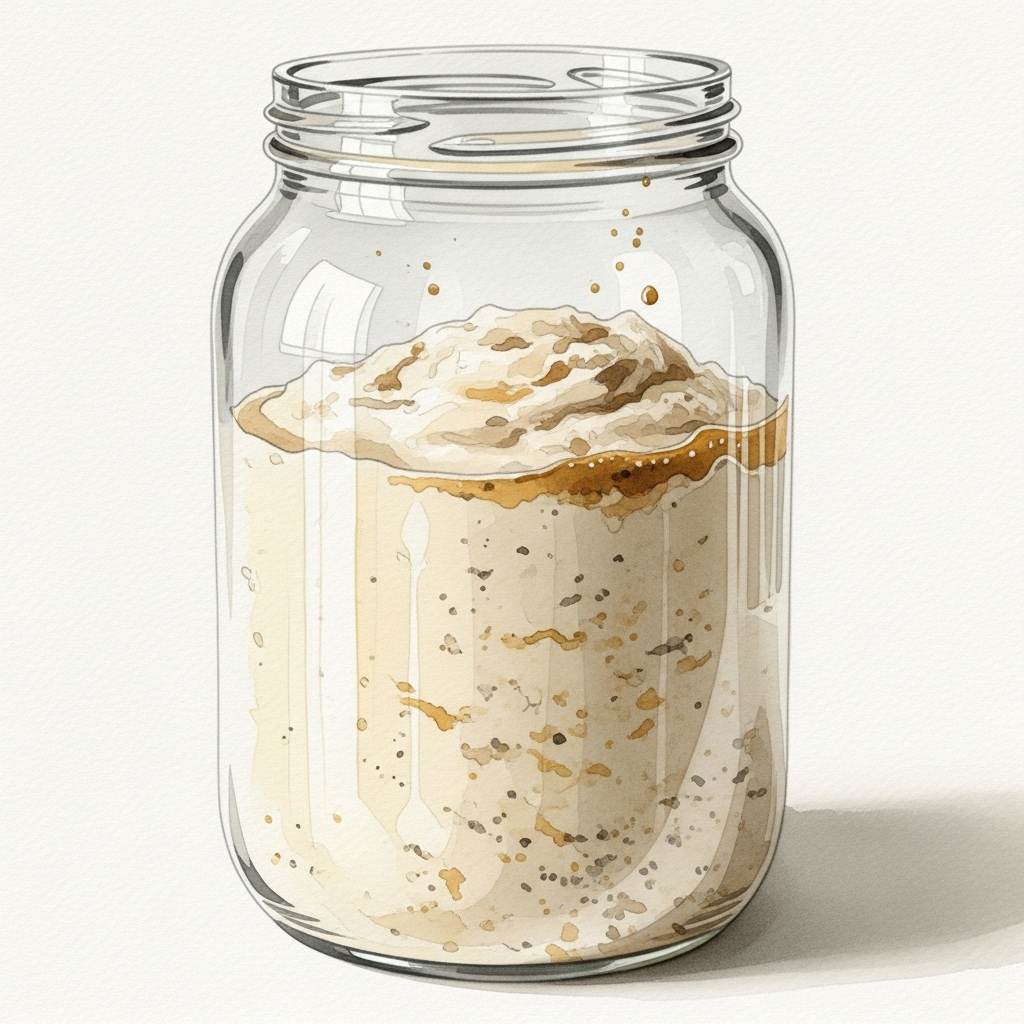
- Day 2: The Waiting Game You might see a few bubbles. You might see nothing. You might smell something… interesting. Just let it be. Give it a stir if you feel compelled. Say hello. This is bonding time.
- Day 3: The First Feeding Your starter might look bubbly and have a funky smell. Time to feed. Discard all but 60g (about 1/4 cup) of the starter. (Don’t cry! Discarding isn’t wasteful; it’s necessary to ensure the small remaining culture has a huge meal of fresh flour to grow strong, rather than having a large, starving population compete for limited resources). To the remaining starter, add 60g of all-purpose/bread flour and 60g of lukewarm water. Mix well, scrape the sides, cover loosely, and wait another 24 hours.
- Day 4-6: The Routine Now we get into a rhythm. Every 12-24 hours, repeat the Day 3 process:
- Discard all but about 60g (a heaping tablespoon) of your starter.
- Feed it with 60g of flour and 60g of water.
- Mix, cover, and wait.
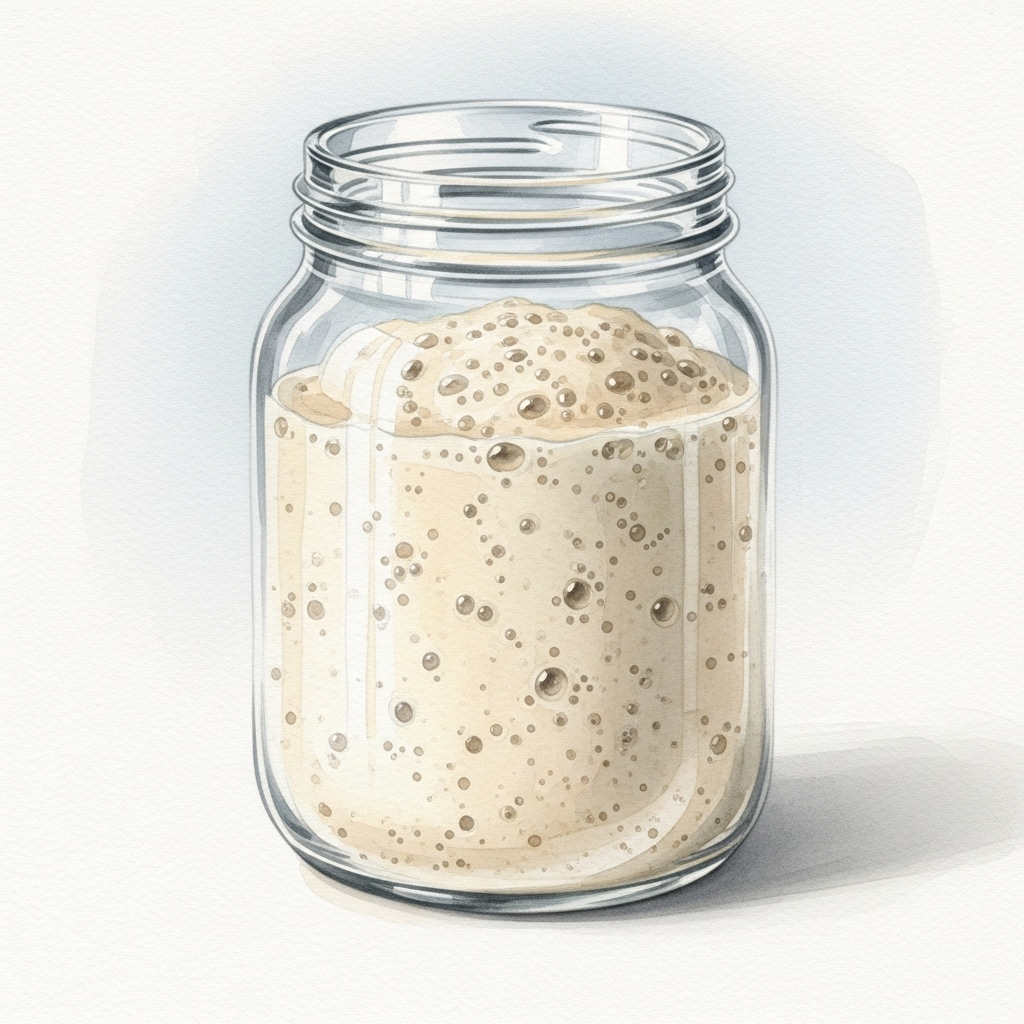
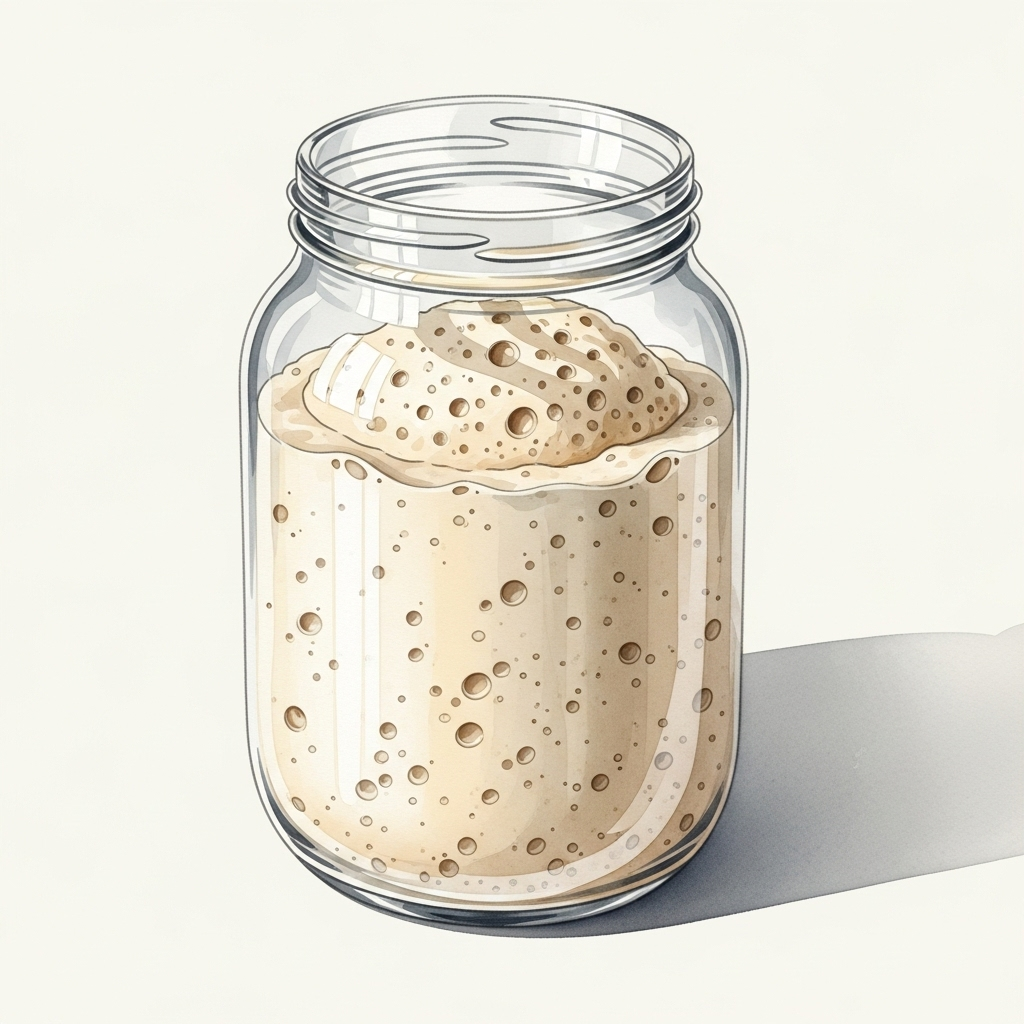
- Day 7 and Beyond: The Glow-Up By now, your starter should be predictable. Within 4-8 hours of feeding, it should double or triple in volume, be full of bubbles, and smell tangy and delicious. When it reliably does this, it’s ready! Congratulations, you are now a yeast parent.
Phase 2: Maintaining Your Starter (The Long Haul)
Once mature, you don’t have to feed it every day unless you want to.
- Countertop Life: If you bake almost daily, keep it on the counter. Feed it once or twice every 24 hours.
- Refrigerator Life (The Hibernation): For most of us, this is the way. Keep your starter in the fridge and feed it once a week. Take it out, let it warm up for an hour, discard and feed as usual, let it sit on the counter for a few hours to get bubbly, then pop it back in the fridge.
Phase 3: Preparing for Baking Day
You can’t bake with a sleepy starter straight from the fridge. You need to wake it up and get it to “peak” activity.
- Two to three days before baking: Take your starter out of the fridge.
- Give it a big feed: Discard all but a tablespoon. Feed it a larger amount, say 100g flour and 100g water.
- Repeat: Feed it every 12 hours for the next 1-2 days. You’re building its strength and yeast population.
- On baking day: The recipe will call for a specific amount of “active, ripe starter.” This means you feed your starter, and when it has reached its highest point of rising (the “peak”) and is full of airy bubbles, that’s when you use it.
The Float Test: A classic way to check if your starter is ready. Drop a small spoonful into a glass of water. If it floats, the CO2 bubbles are at maximum capacity and it’s ready to leaven your bread. If it sinks, it needs more time.
Now that your yeast beast is tamed and ready, let’s move on to the next step: giving our flour a relaxing spa day.
Next Up: Part 2: The Autolyse – Giving Your Flour a Spa Day →
Or jump directly to your favorite part:
- Pretzel & Rye Beginner’s Guide – Part 1: Taming the Yeast Beast (Your Sourdough Starter)
- Pretzel & Rye Beginner’s Guide – Part 2: The Autolyse – Giving Your Flour a Spa Day
- Pretzel & Rye Beginner’s Guide – Part 3: Mixing & Kneading – The Great Gluten Workout
- Pretzel & Rye Beginner’s Guide – Part 4: Bulk Fermentation – The First Big Rise
- Pretzel & Rye Beginner’s Guide – Part 5: Divide & Conquer – Preshaping Your Dough
- Pretzel & Rye Beginner’s Guide – Part 6: The Final Shape – From Blob to Boule
- Pretzel & Rye Beginner’s Guide – Part 7: The Final Proof – The Beauty Sleep
- Pretzel & Rye Beginner’s Guide – Part 8: The Grand Finale – Baking Your Loaf
- Pretzel & Rye Beginner’s Guide – Part 9: The Afterglow – Storing, Freezing & Reviving Bread